Resource Catalog
Use Keycard's built-in Resource Catalog to add pre-configured third-party APIs to your zone
The Resource Catalog is a built-in collection of pre-configured third-party API integrations shipped with Keycard. Each catalog entry bundles the provider endpoints, resource identifier, and default OAuth scopes needed to connect a popular service - so you can add integrations like Gmail, GitHub, or Slack without looking up API docs or manually entering configuration.
What’s in the Catalog
Section titled “What’s in the Catalog”| Resource | Provider | Category |
|---|---|---|
| Gmail | Communication | |
| Slack | Slack | Communication |
| Google Calendar | Productivity | |
| Google Drive | Storage | |
| GitHub | GitHub | Developer Tools |
| Linear | Linear | Productivity |
| Jira | Atlassian | Productivity |
| Confluence | Atlassian | Productivity |
| Attio CRM | Attio | CRM |
| Sentry | Sentry | Developer Tools |
Prerequisites
Section titled “Prerequisites”- A Keycard zone with an identity provider connected (e.g., Okta, Auth0, Google)
- Create resource permission in your zone
Open the Catalog
Section titled “Open the Catalog”Navigate to Resources in your zone’s Keycard Console, click Add Resource, then select Explore Resources from the dropdown.
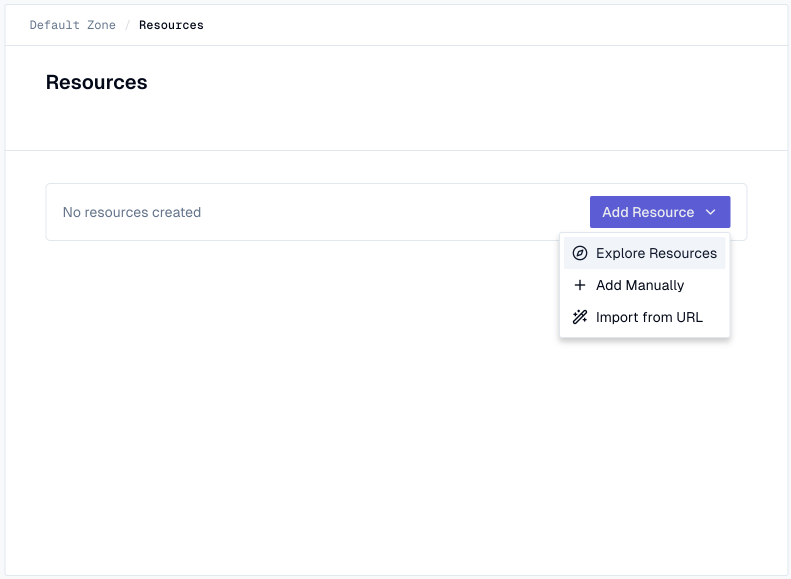
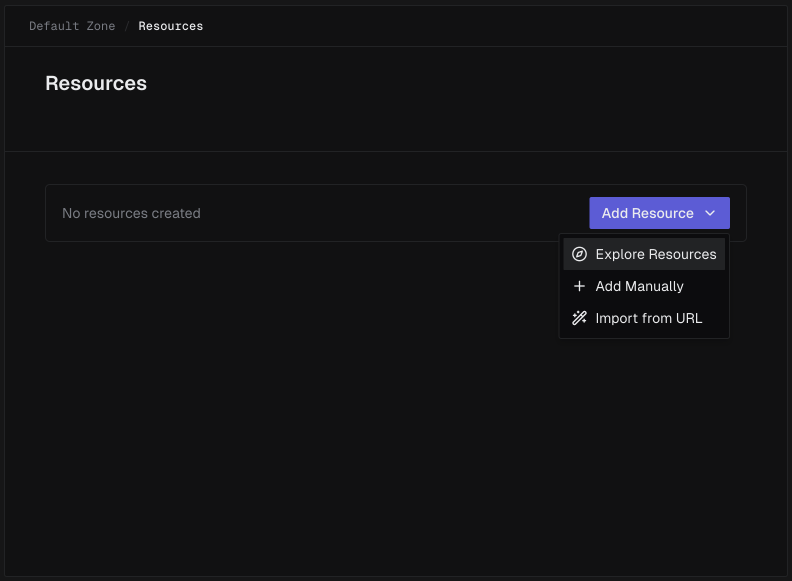
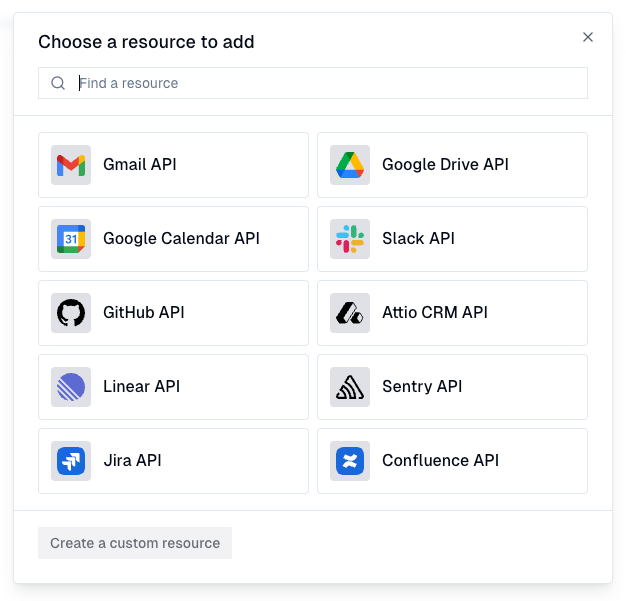
Browse the grid or use the search bar to find a resource, then click it to configure.

Configure the Resource
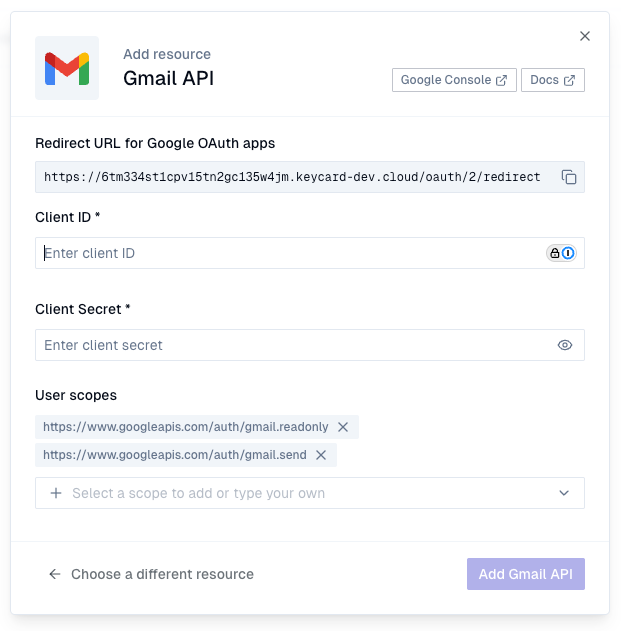
Section titled “Configure the Resource”The configuration dialog shows the resource logo, name, and links to the provider’s documentation and developer console. What comes next depends on whether the provider already exists in your zone.
Adding a new provider
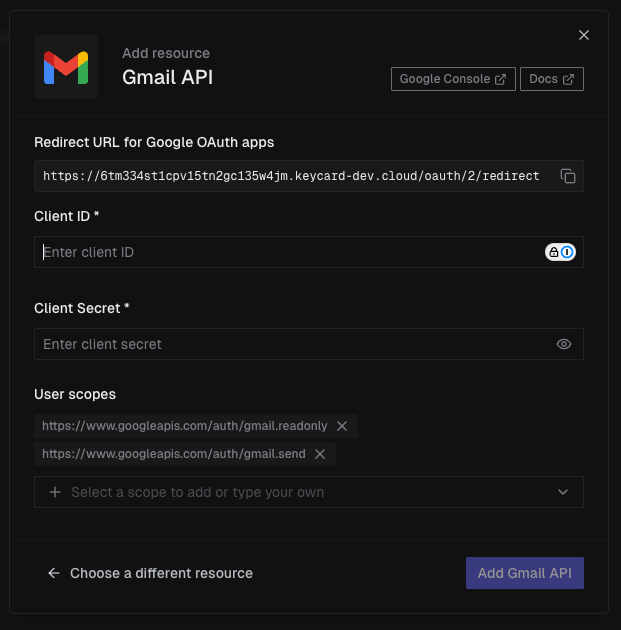
Section titled “Adding a new provider”When this is the first resource from a provider (e.g., adding Gmail before any other Google resource), the dialog asks you to connect it.
-
Copy the Redirect URL
Copy the Redirect URL at the top of the dialog and add it as an authorized redirect URI in the provider’s developer console.
-
Enter credentials
Enter the Client ID and Client Secret from the provider’s developer console.
-
Review scopes
The User scopes section is pre-filled with defaults. Remove a scope with the x button, or add more using the Select a scope to add or type your own selector.
-
Add the resource
Click Add [Resource Name].
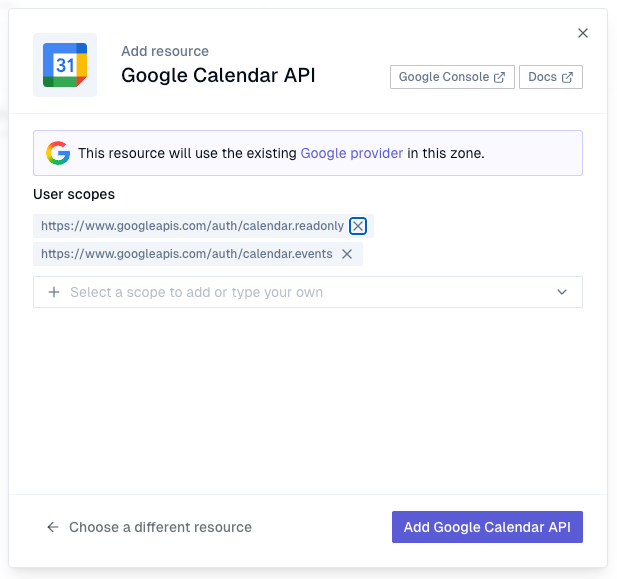
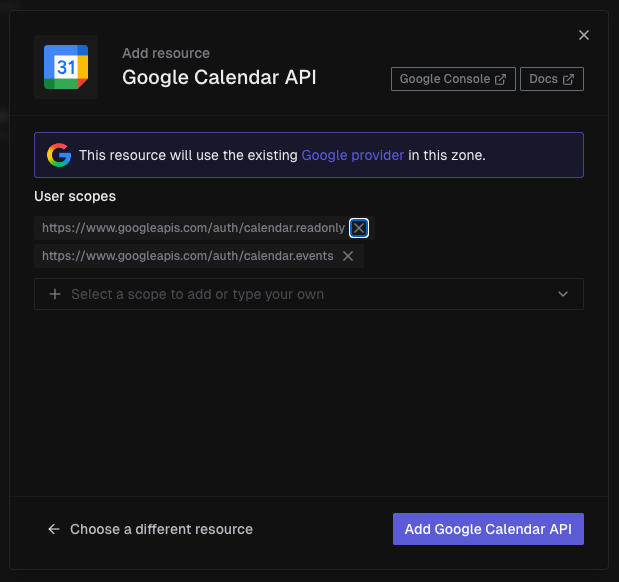
Reusing an existing provider
Section titled “Reusing an existing provider”If the provider is already in your zone (e.g., adding Google Calendar after you’ve already added Gmail), the dialog shows a banner confirming it will reuse the existing provider. No credentials needed - just review the User scopes and click Add [Resource Name].
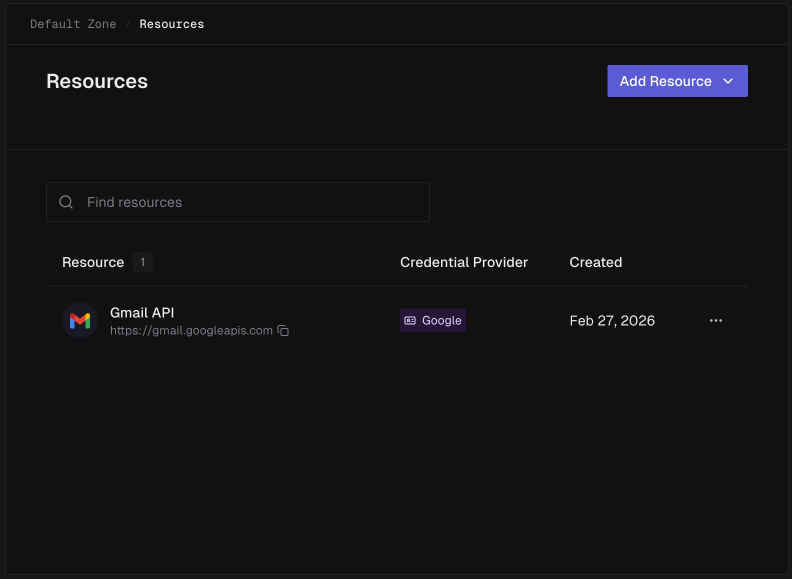
What Gets Created
Section titled “What Gets Created”Adding a resource from the catalog creates:
- A resource with the pre-configured identifier and your selected scopes
- A provider for the external OAuth service (if one didn’t already exist)
Both are visible in the Resources and Providers pages immediately.

The resource is immediately available for token exchange in your applications.