
Groups
Create Groups, manage their membership, and assign Roles that every member inherits
A Group is a named collection of Users in a Zone. Assign a Role to a Group and every member inherits it; reference a Group in an access policy and every member is covered by the rule.
Groups are either created in Keycard or synced from your identity provider over SCIM. Synced Groups carry a Synced badge and are read-only while directory sync is enabled. See Synced Groups.
Prerequisites
Section titled “Prerequisites”Managing Groups requires the Admin organization Role, or the Manager Role on the custom Zone you are working in. See Roles & Permissions.
Create a Group
Section titled “Create a Group”-
Open the Groups page
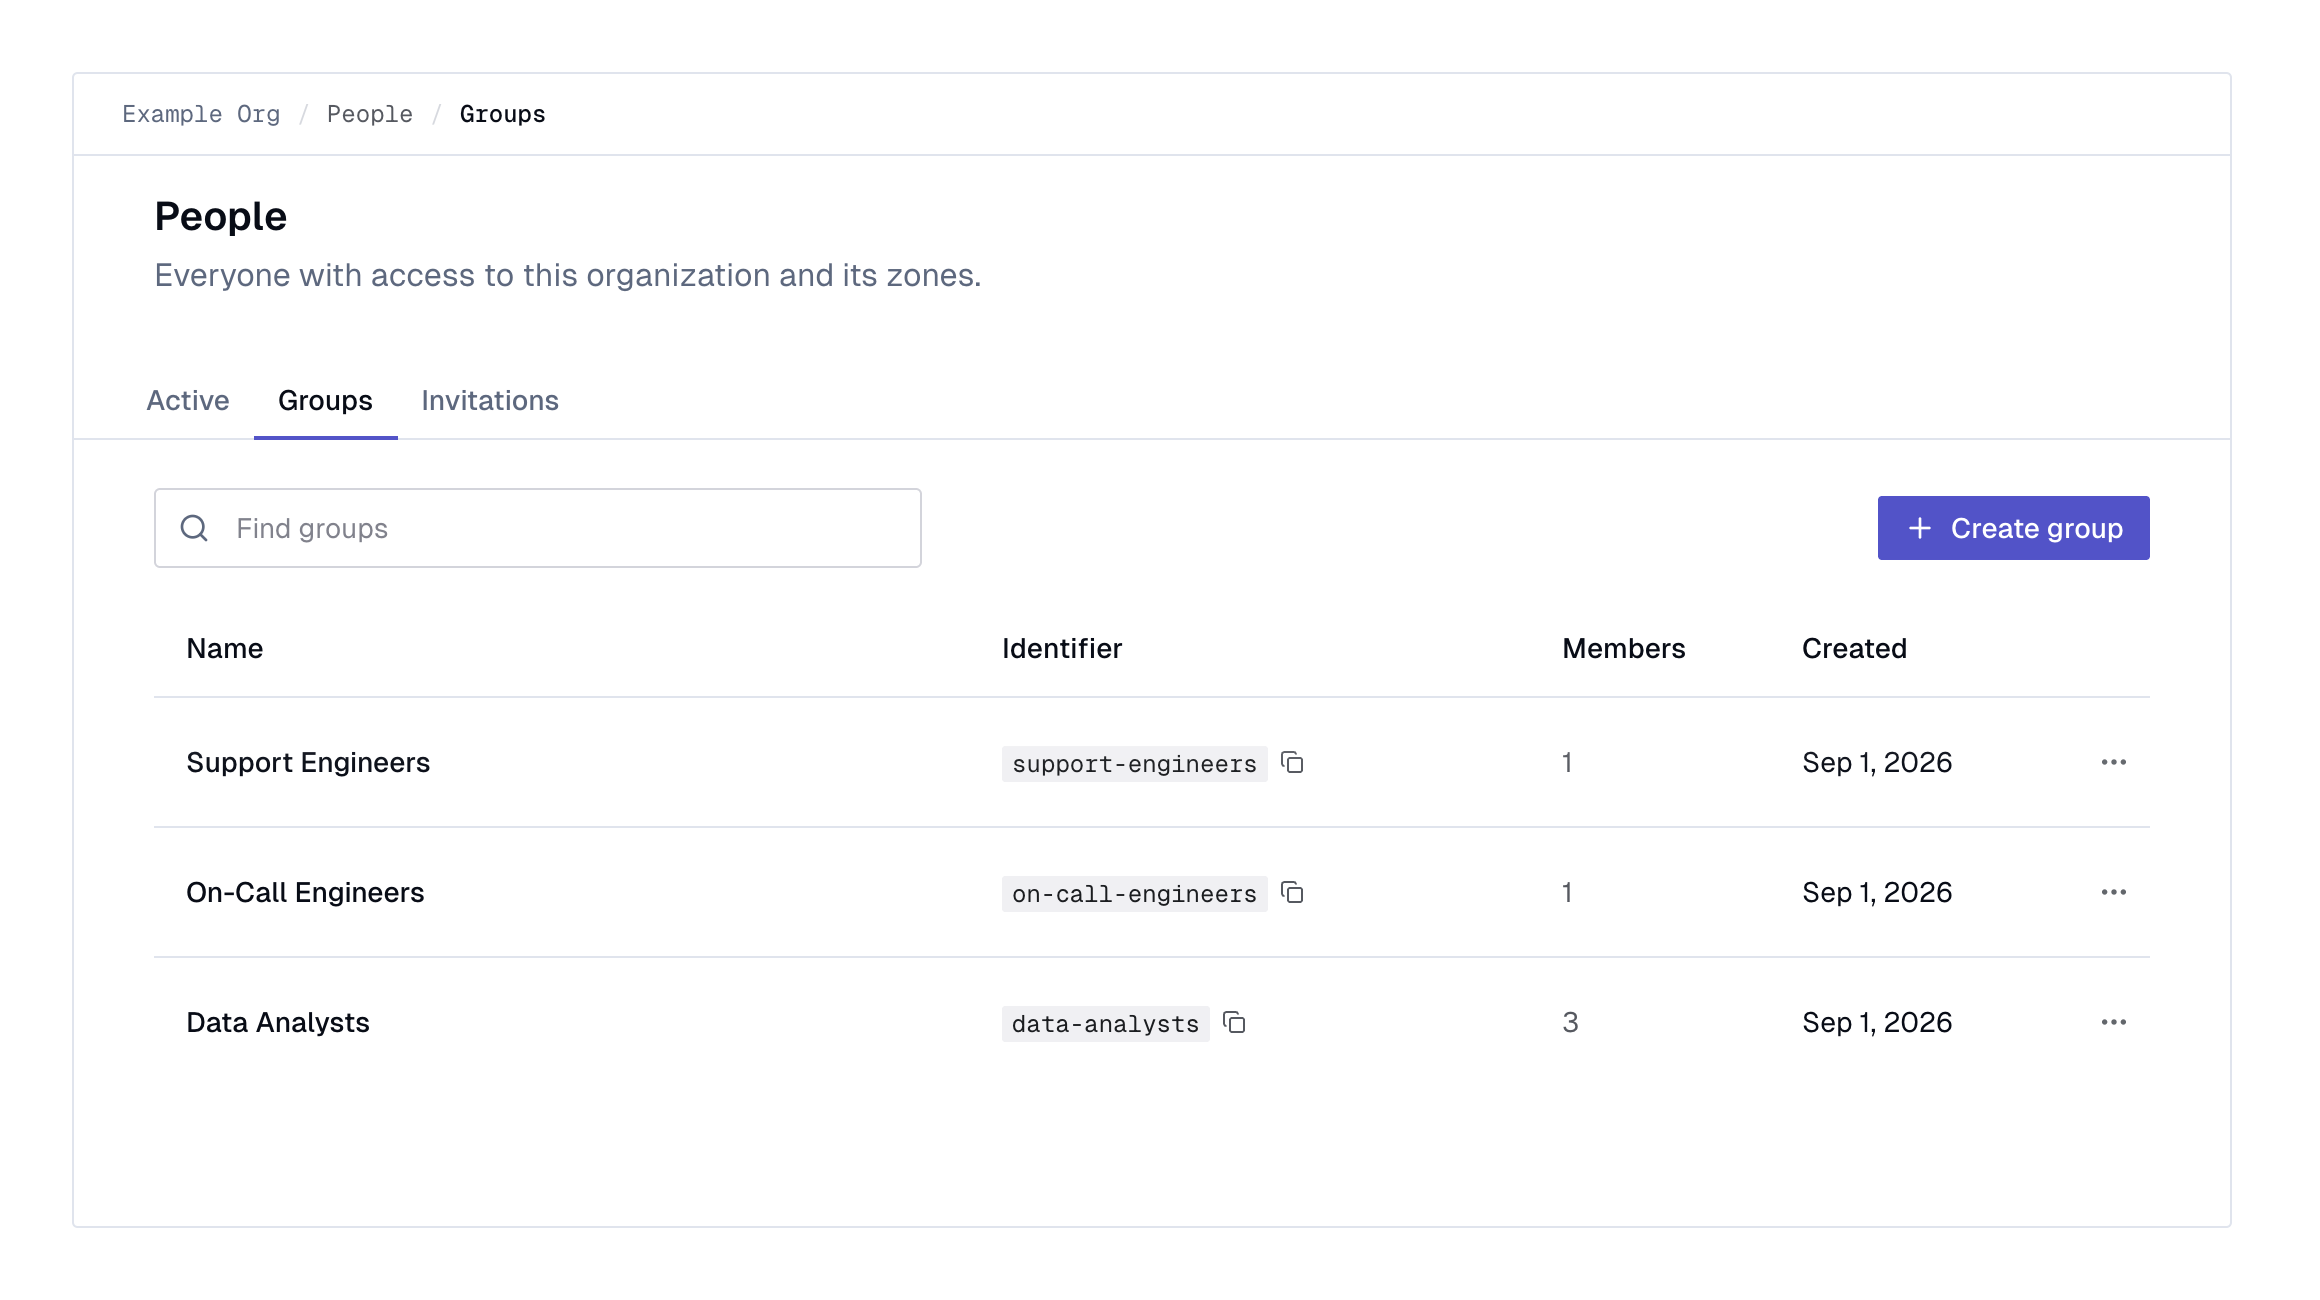
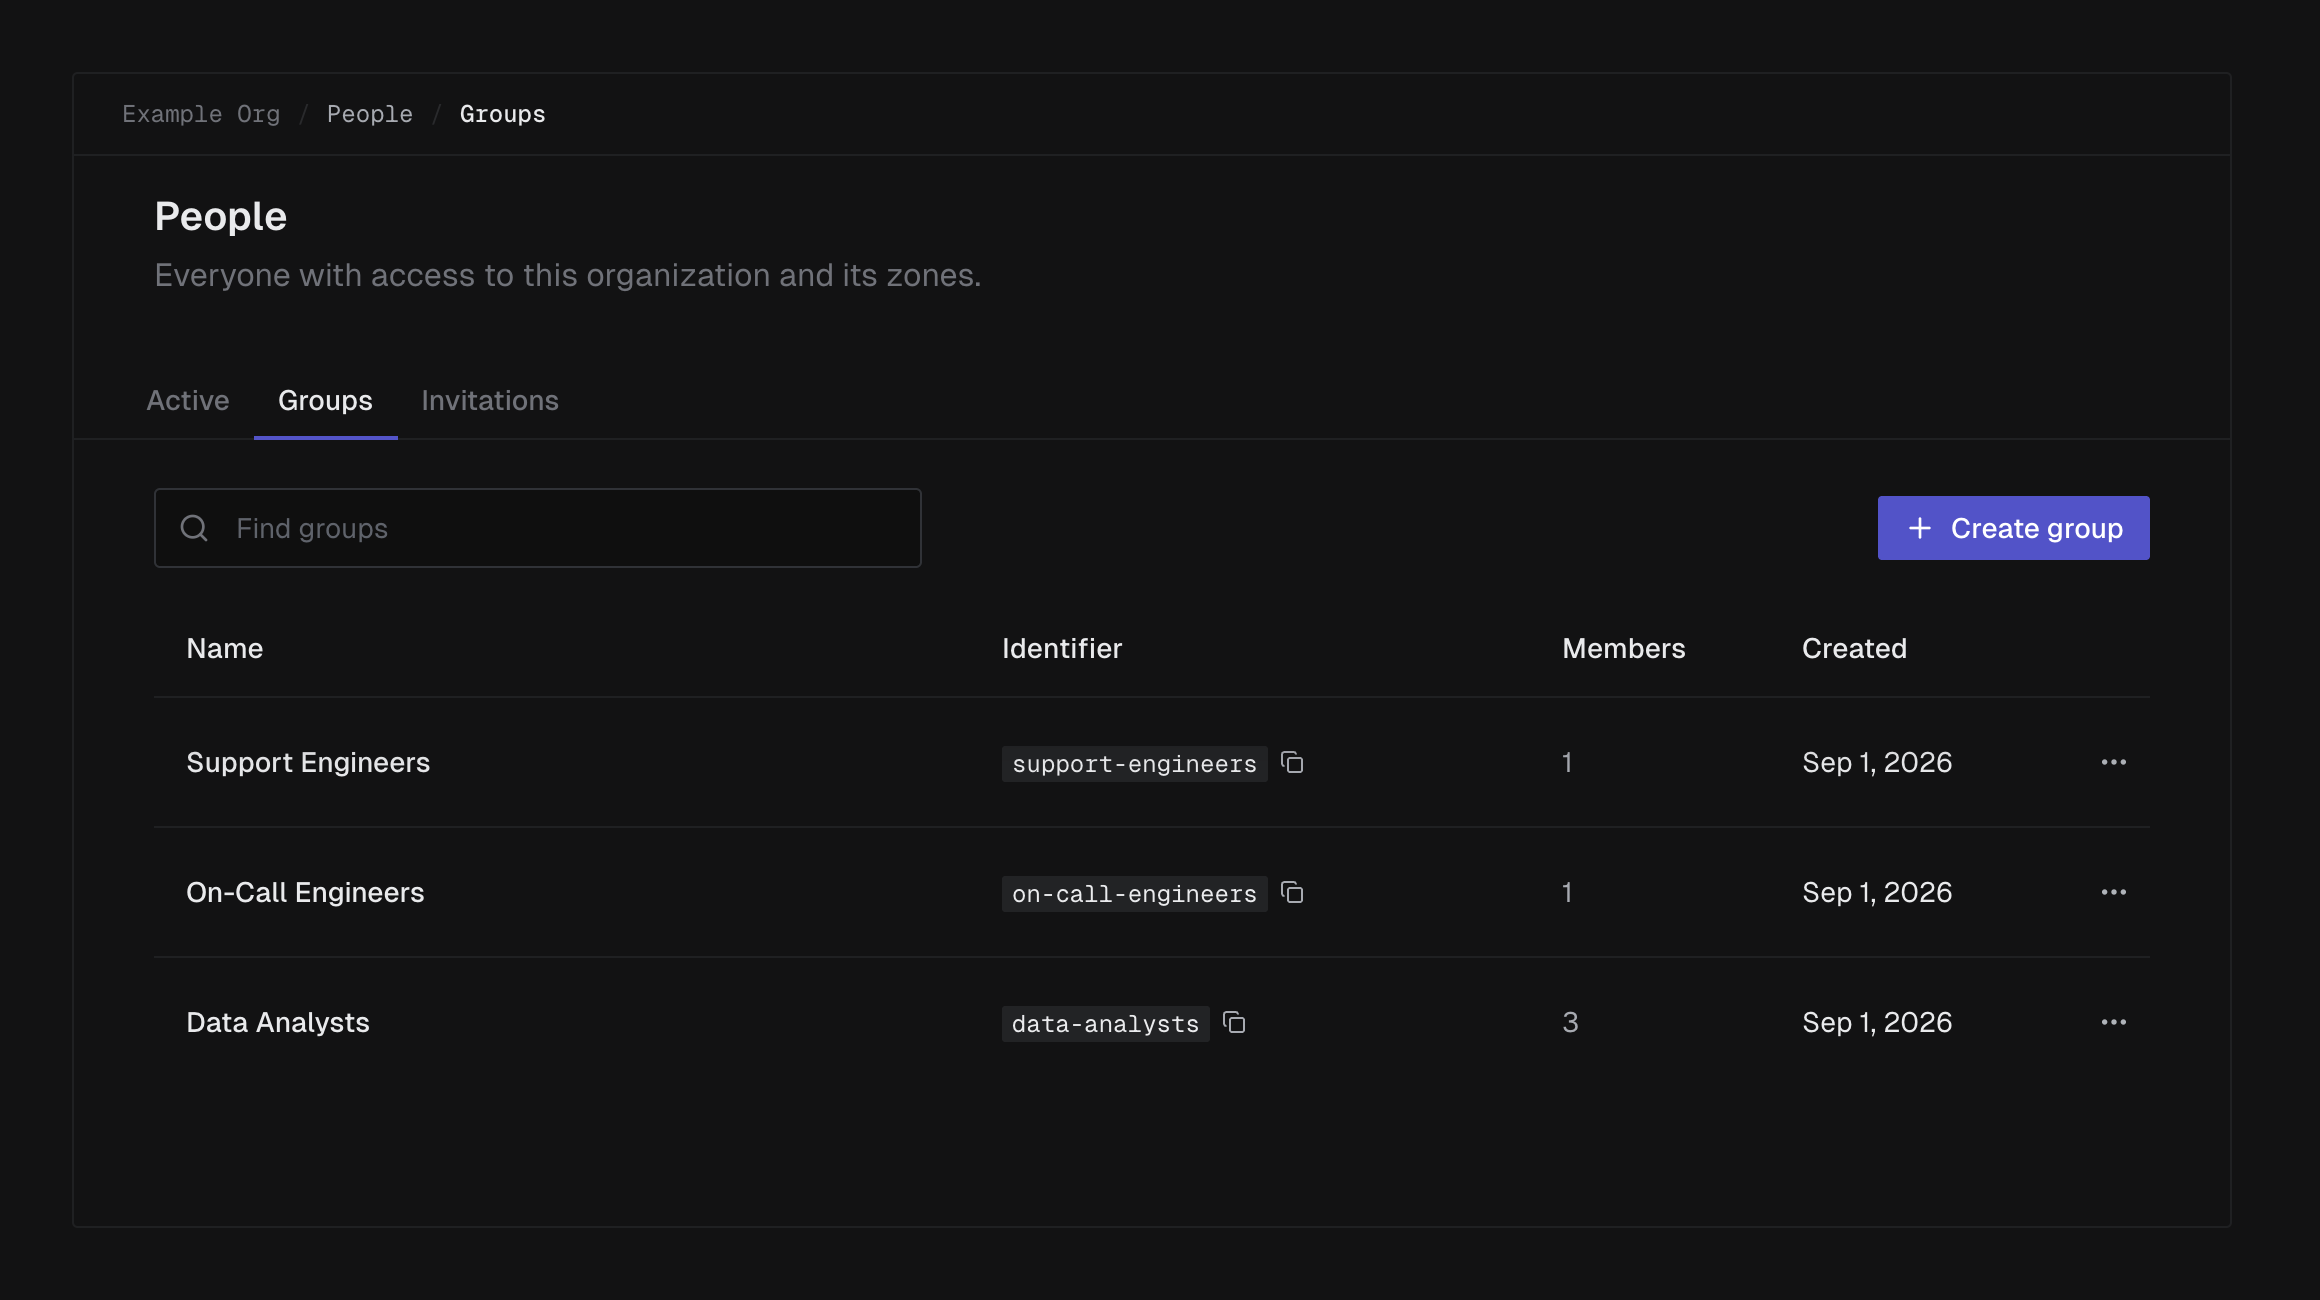
In Keycard Console, open People and select the Groups tab.
-
Create the Group
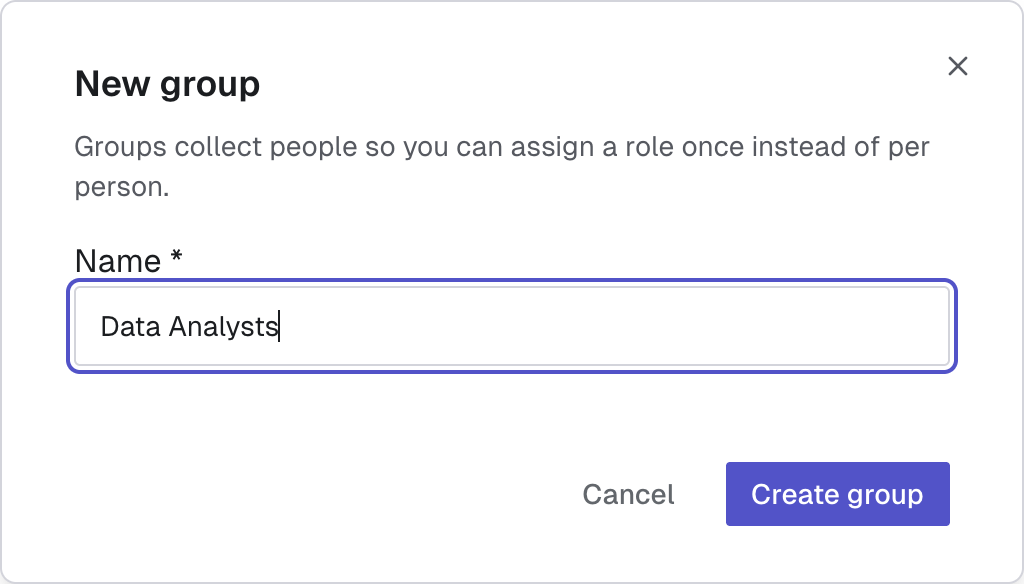
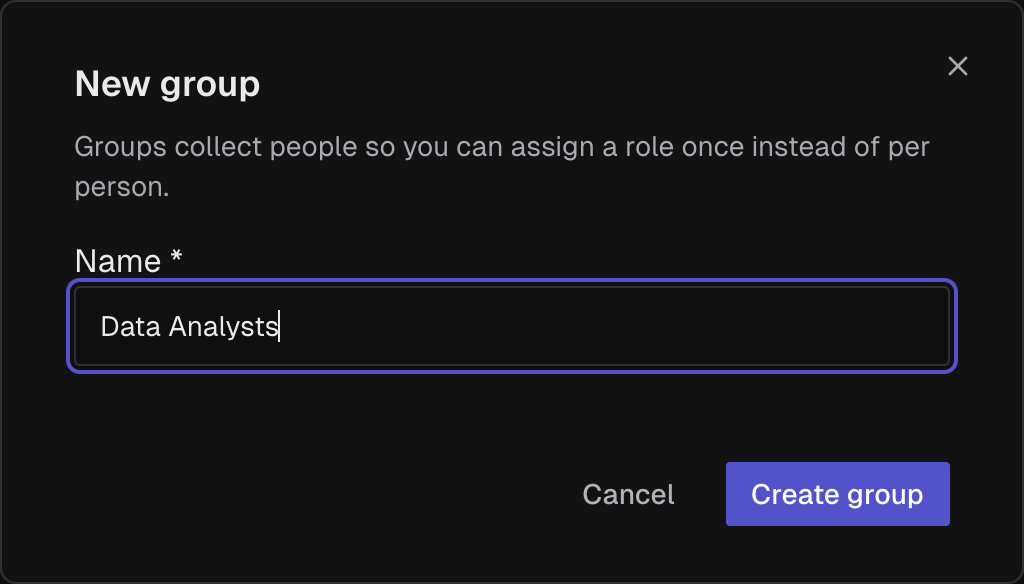
Click Create group, enter a Name, and click Create group.
The identifier is derived from the name:
Data Analystsbecomesdata-analysts. It must be unique within the Zone, and it is the value your policies match on. To change it, open the Group and click the gear icon to edit Group settings.
Manage Membership
Section titled “Manage Membership”Only Users can be Group members. A User can belong to any number of Groups. Membership of a synced Group is managed in the identity provider; the Add members and remove controls are unavailable.
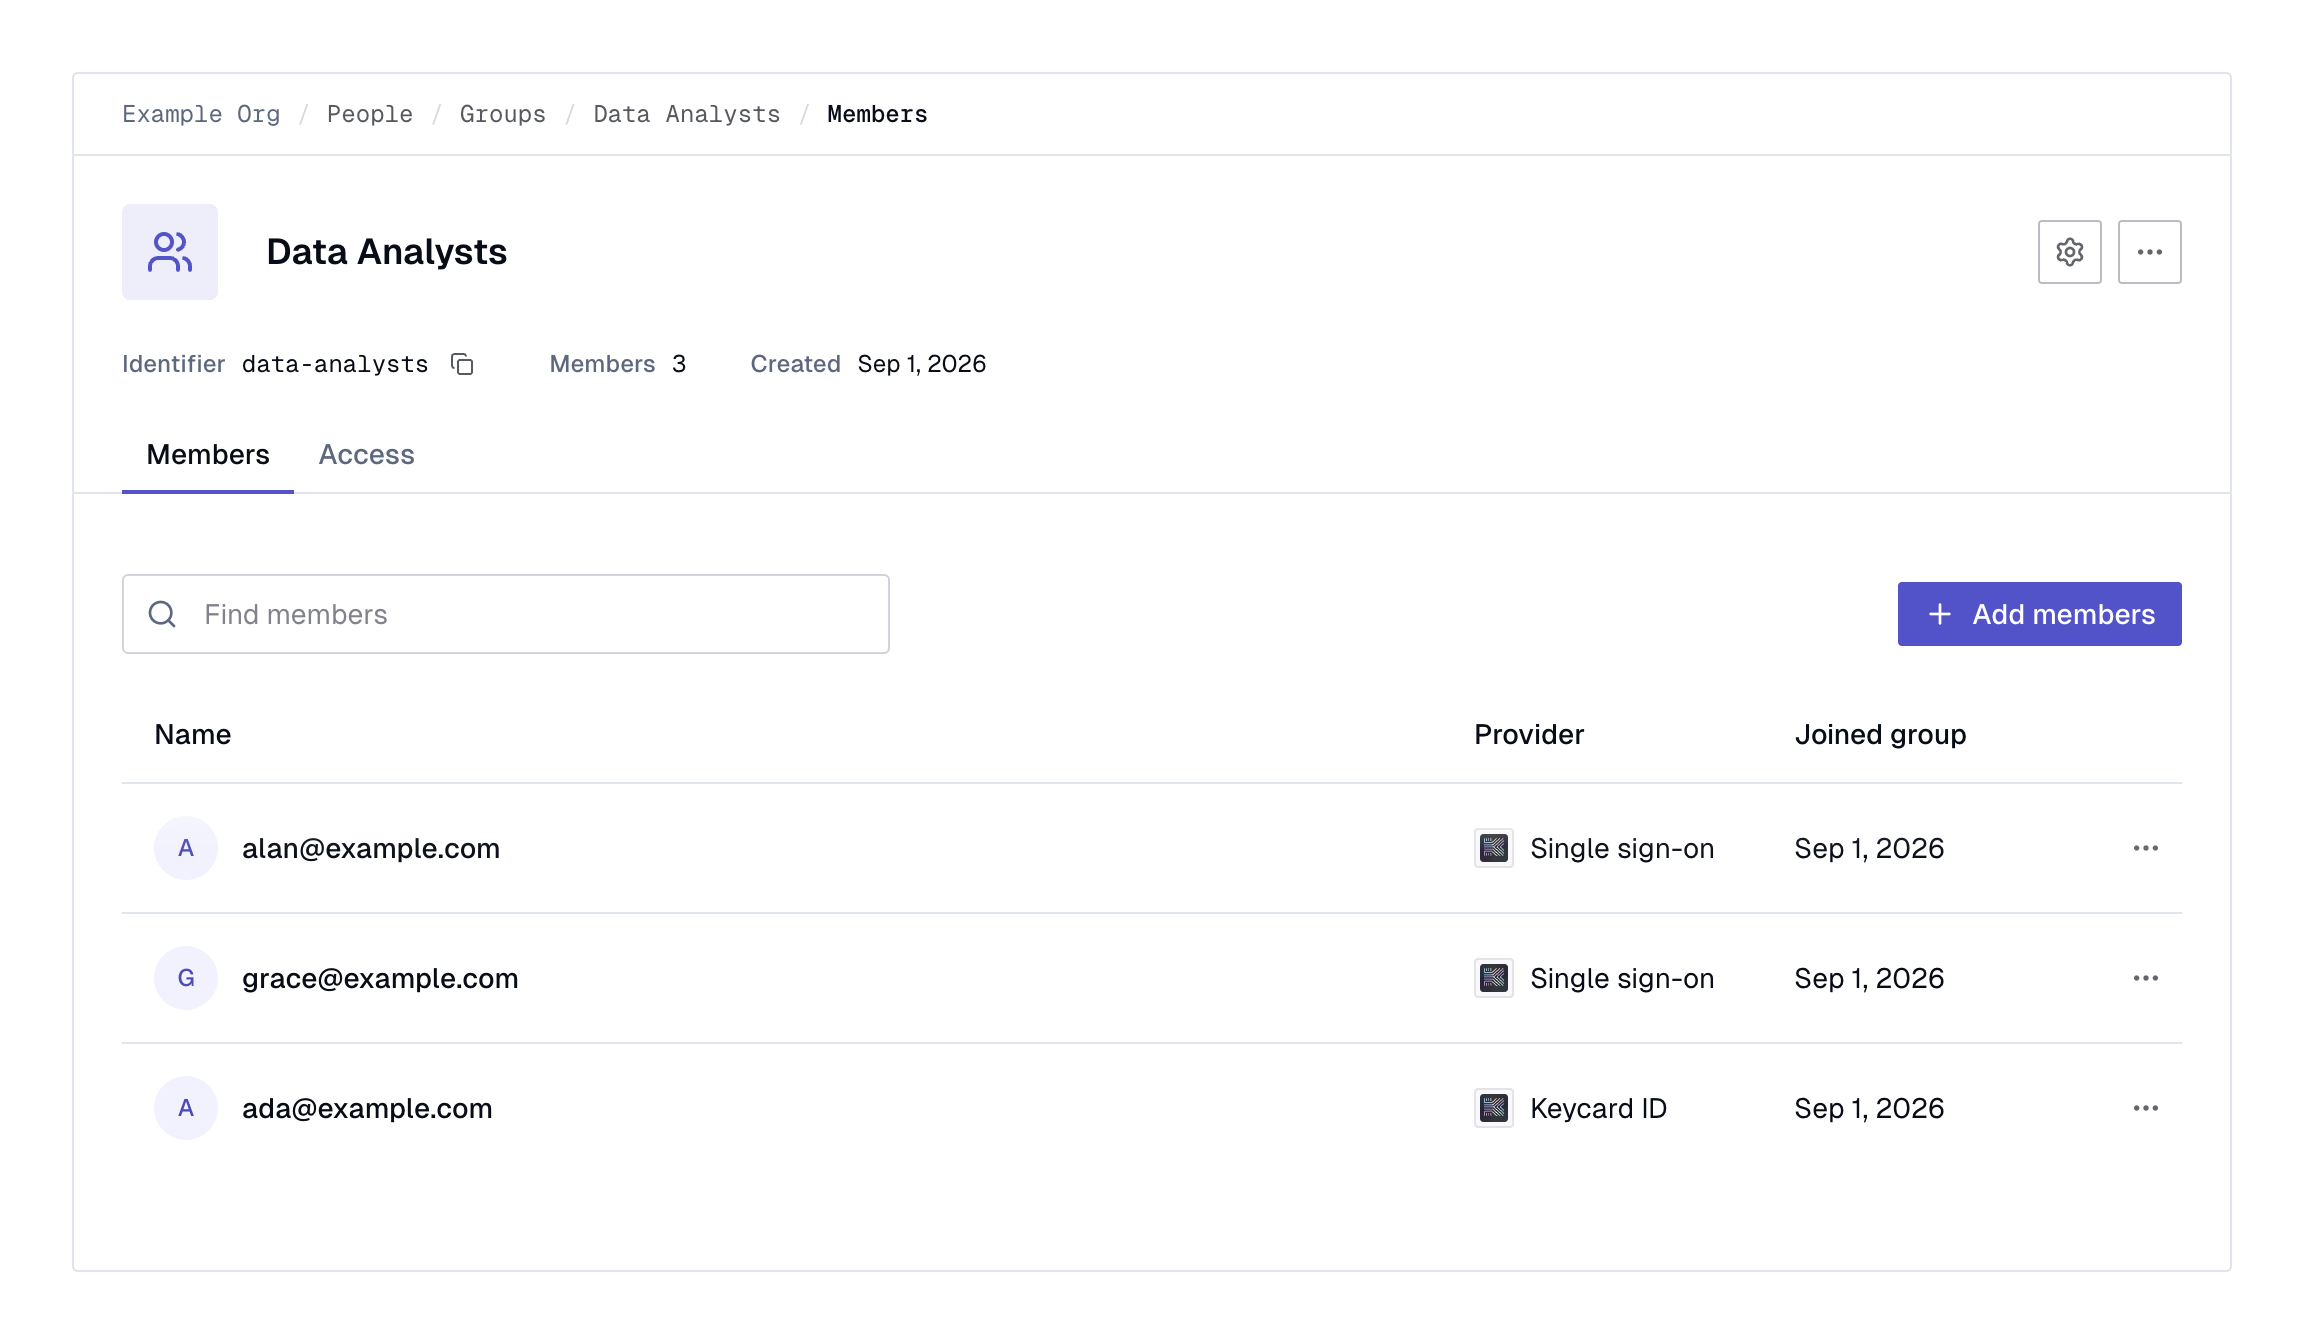
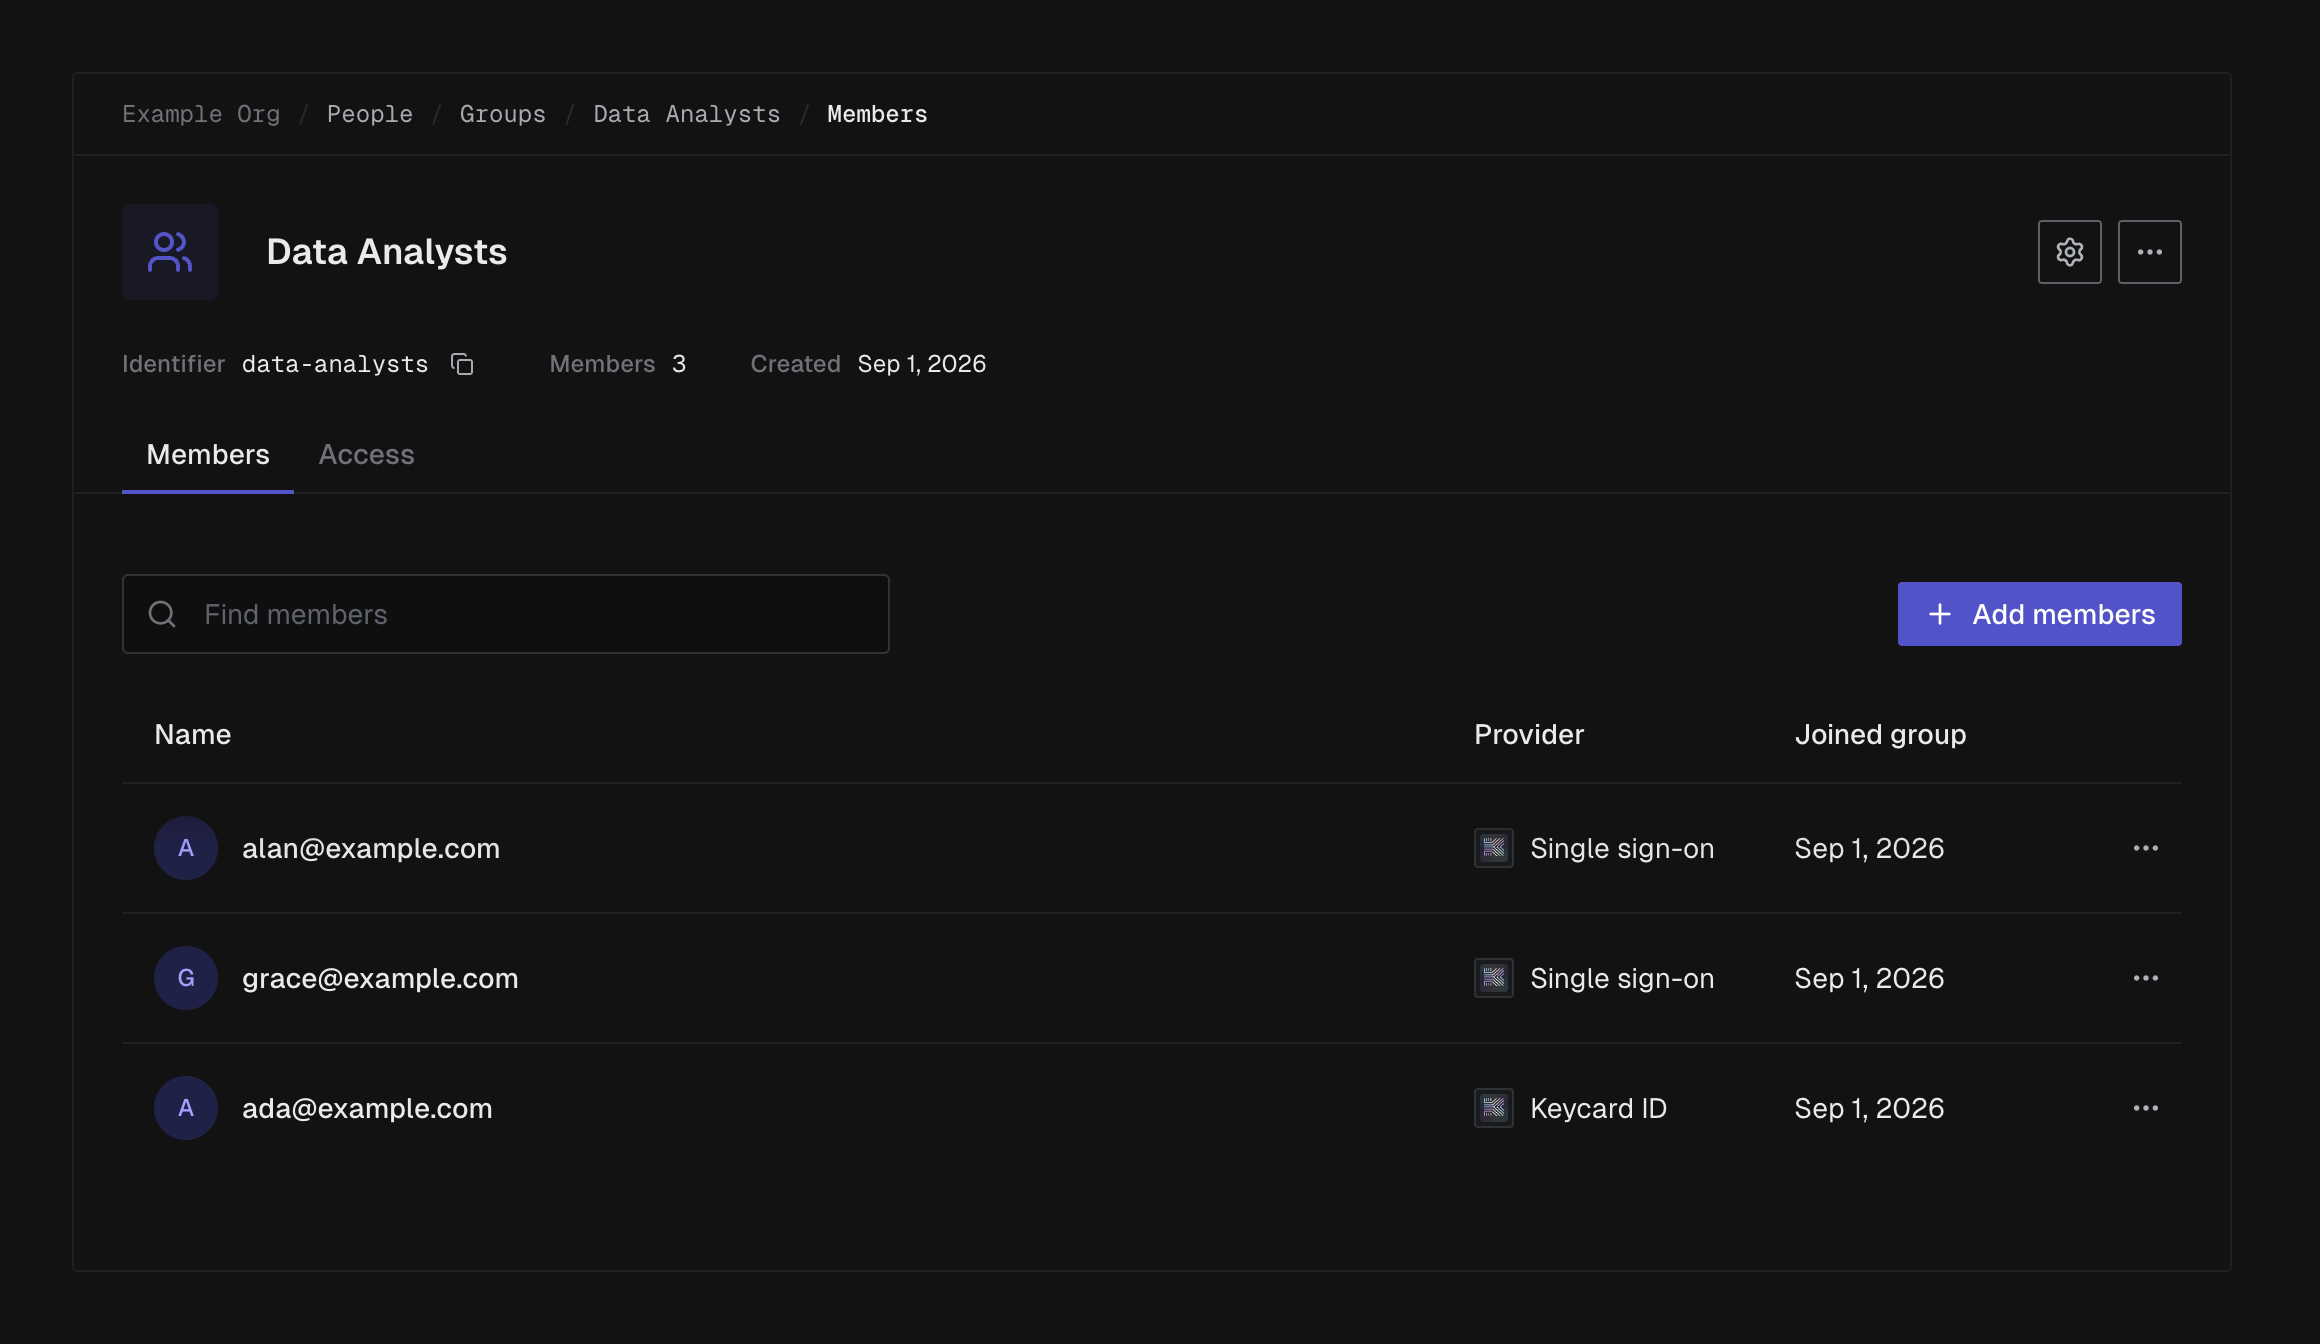
- Open People → Groups and click the Group to open its detail page.
- On the Members tab, click Add members and select the Users to add.
- To remove someone, use the ⋯ button on their row.
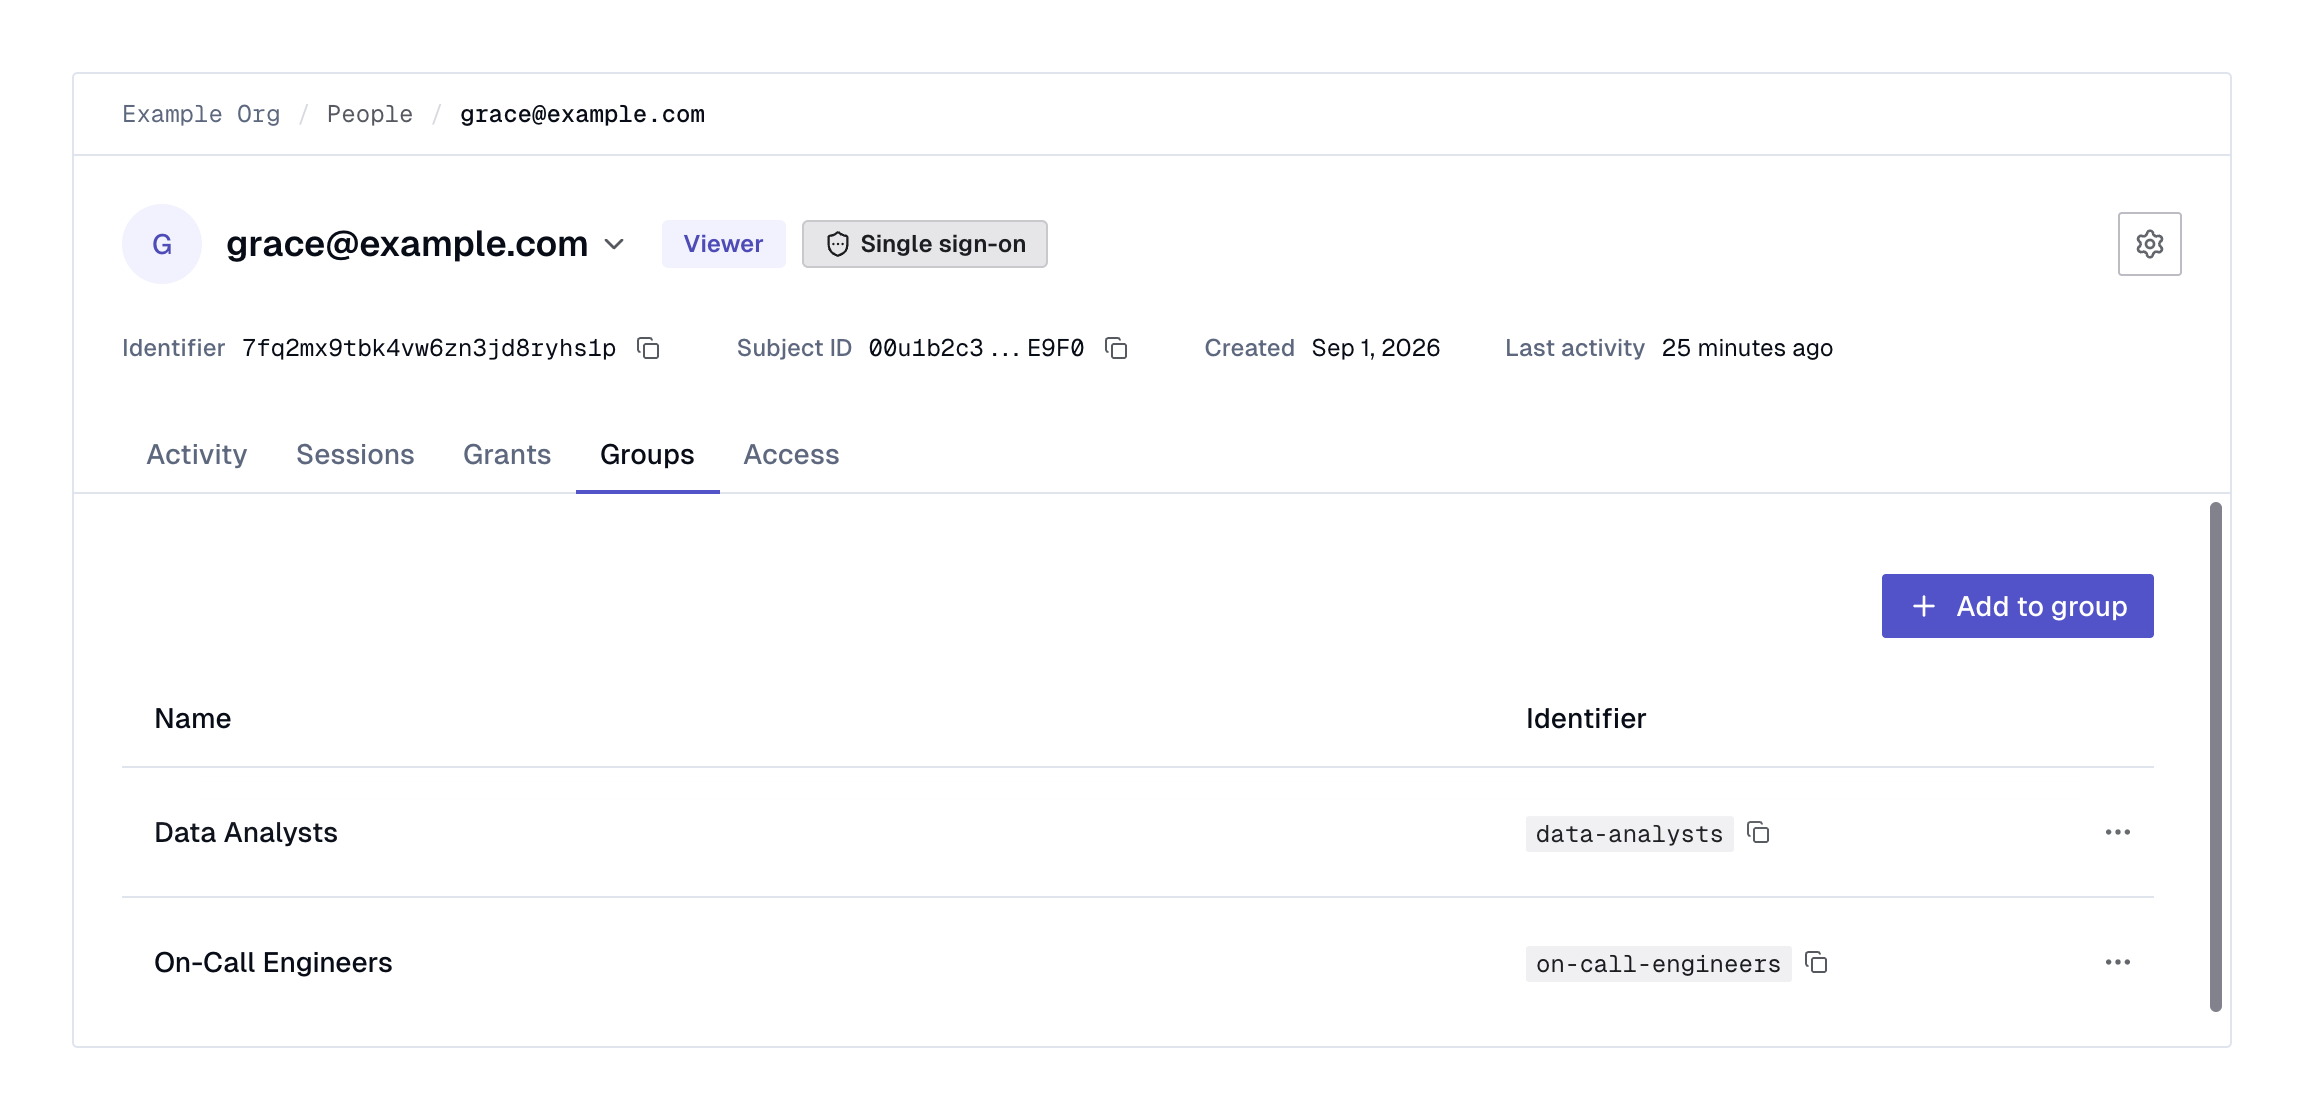
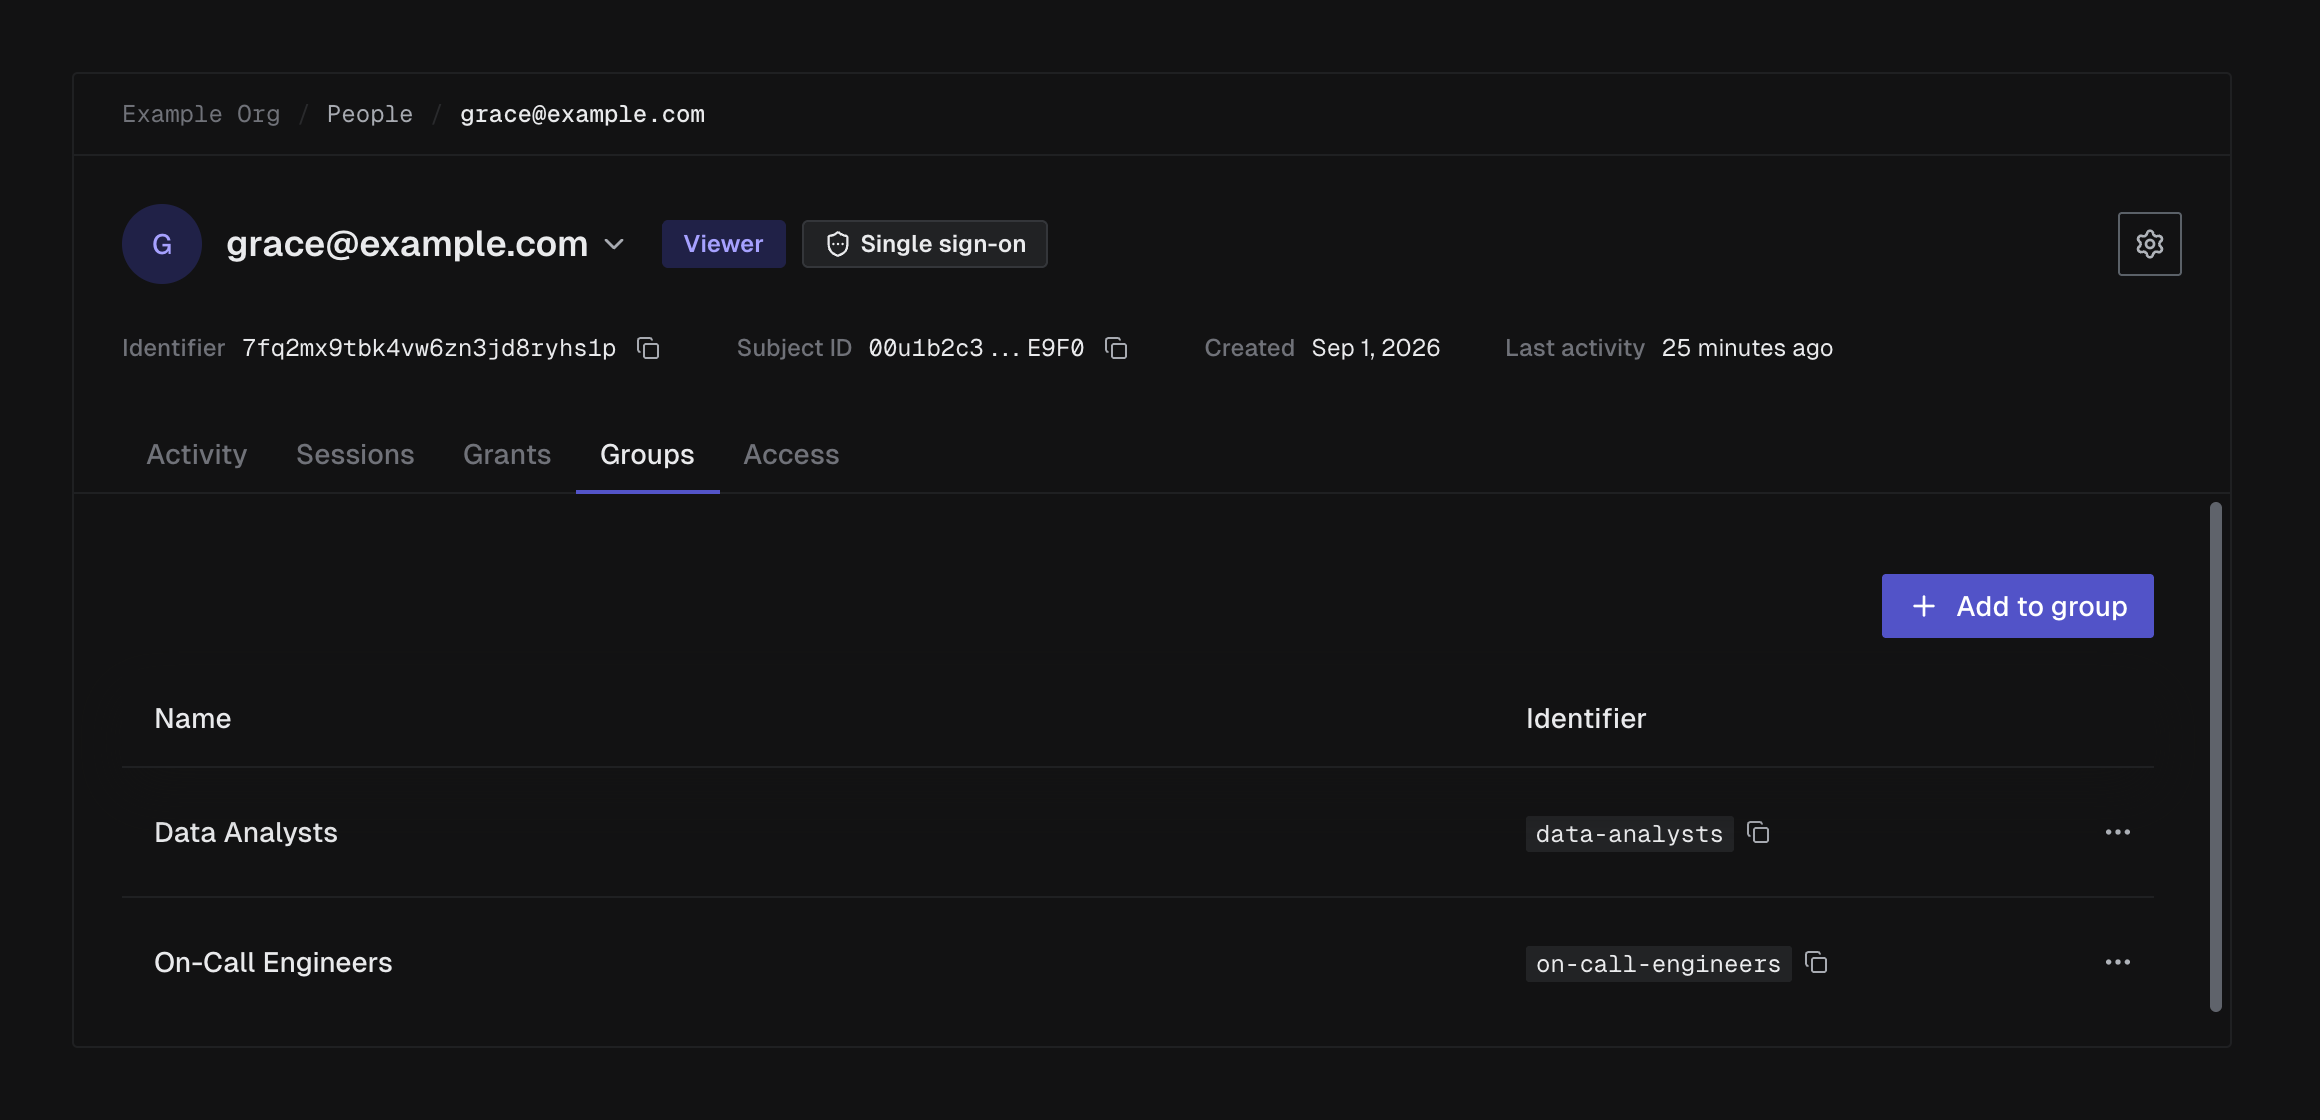
A User’s Groups are also shown on their detail page under People, on the Groups tab. You can add someone to a Group from there too, with Add to group.
Assign Roles to a Group
Section titled “Assign Roles to a Group”A Group can hold the same Roles a User can: either an organization Role or a custom Zone Role. Members inherit every Role assigned to the Group.
- Open People → Groups and click the Group to open its detail page.
- Select the Access tab.
- Choose the Organization role and any Zone access.
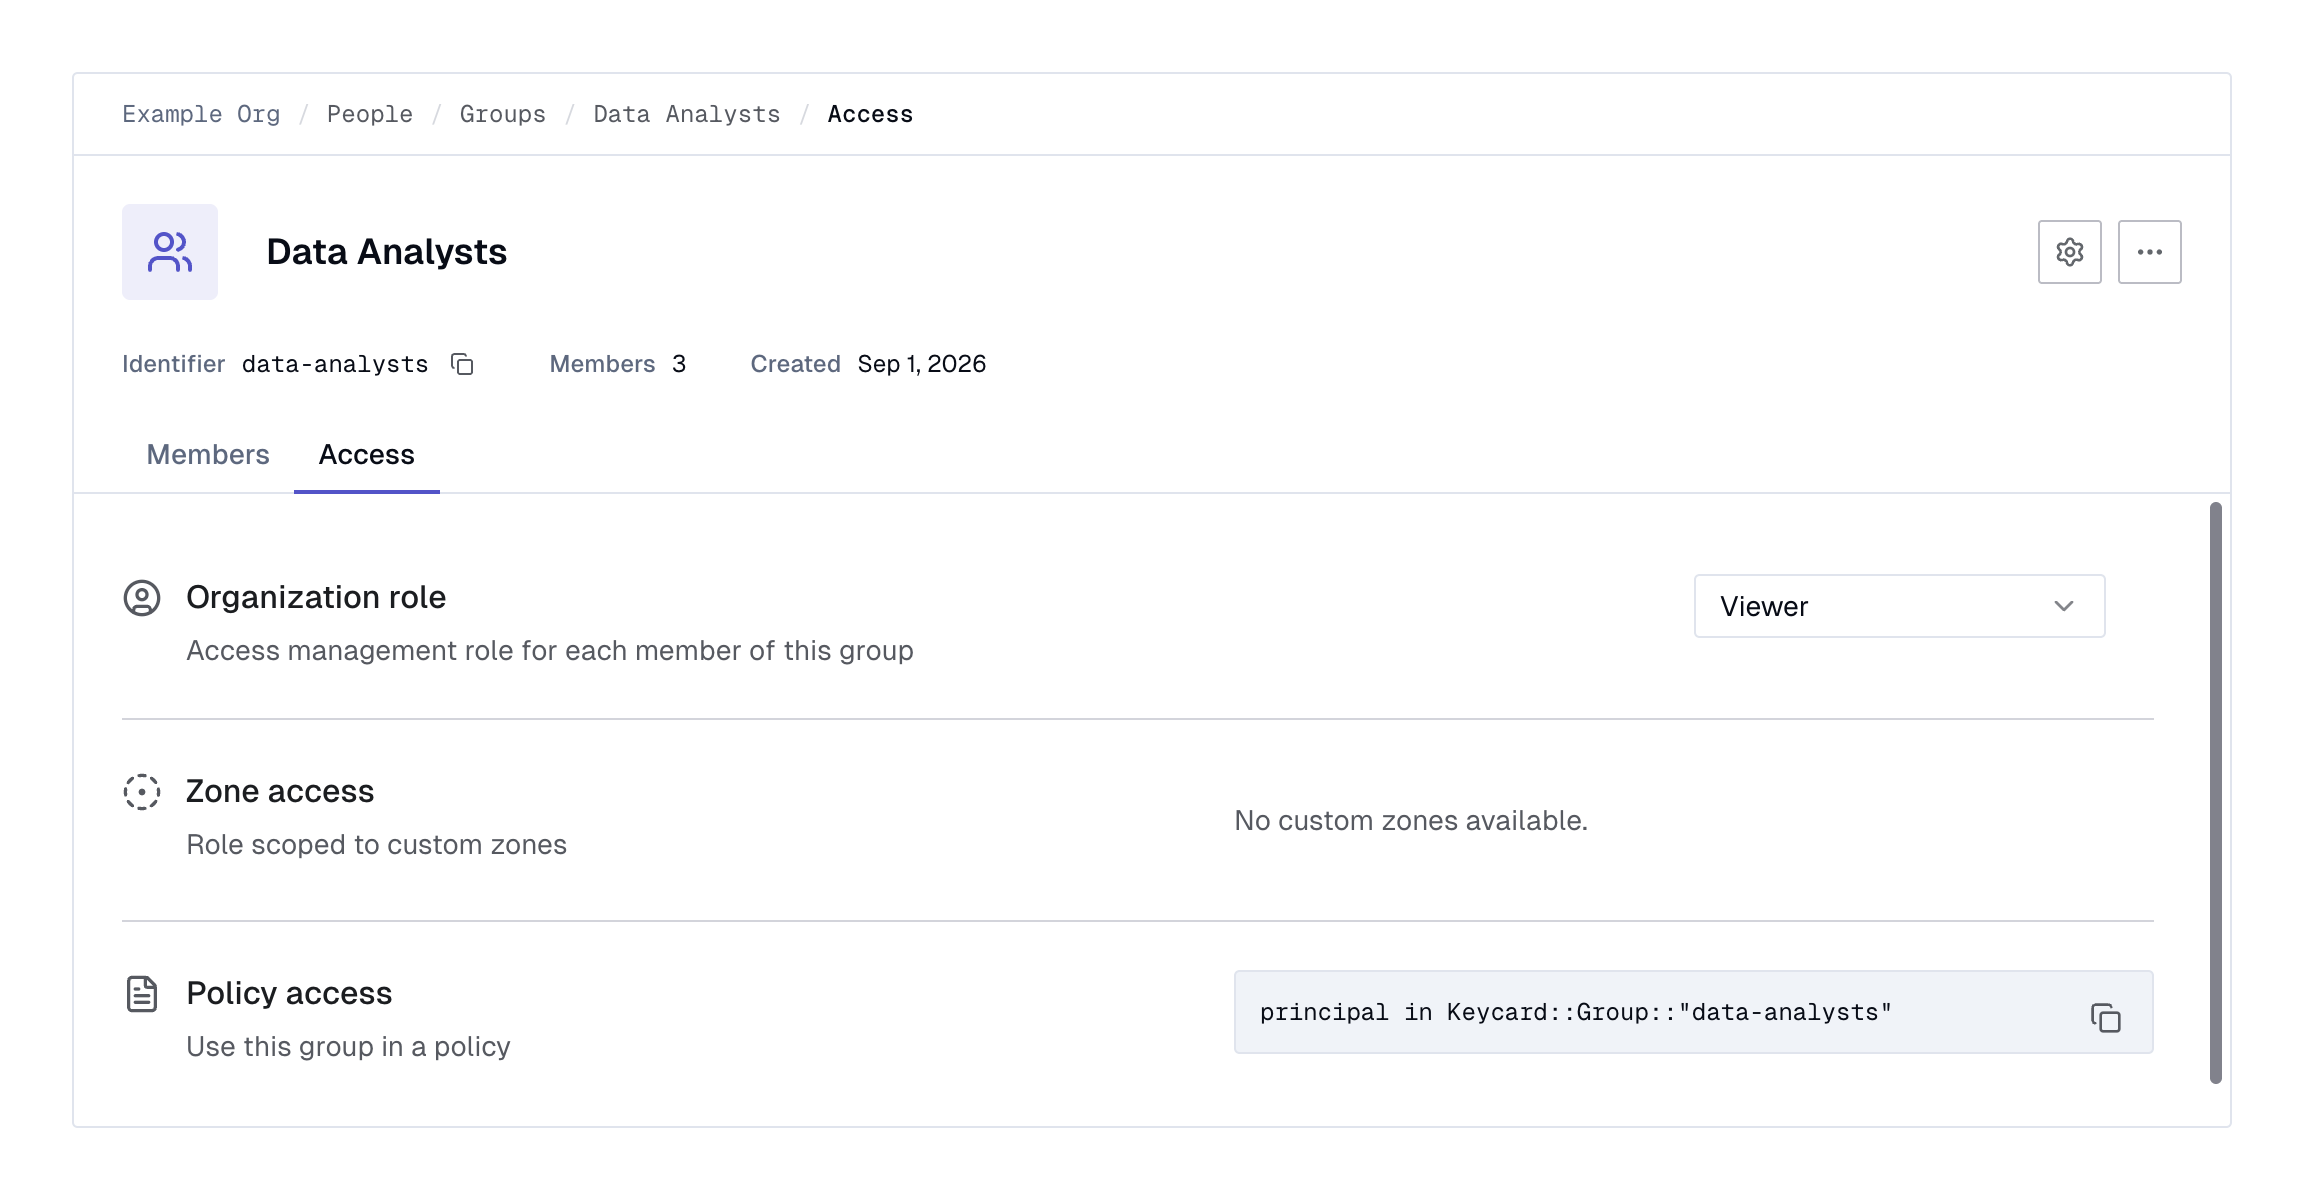
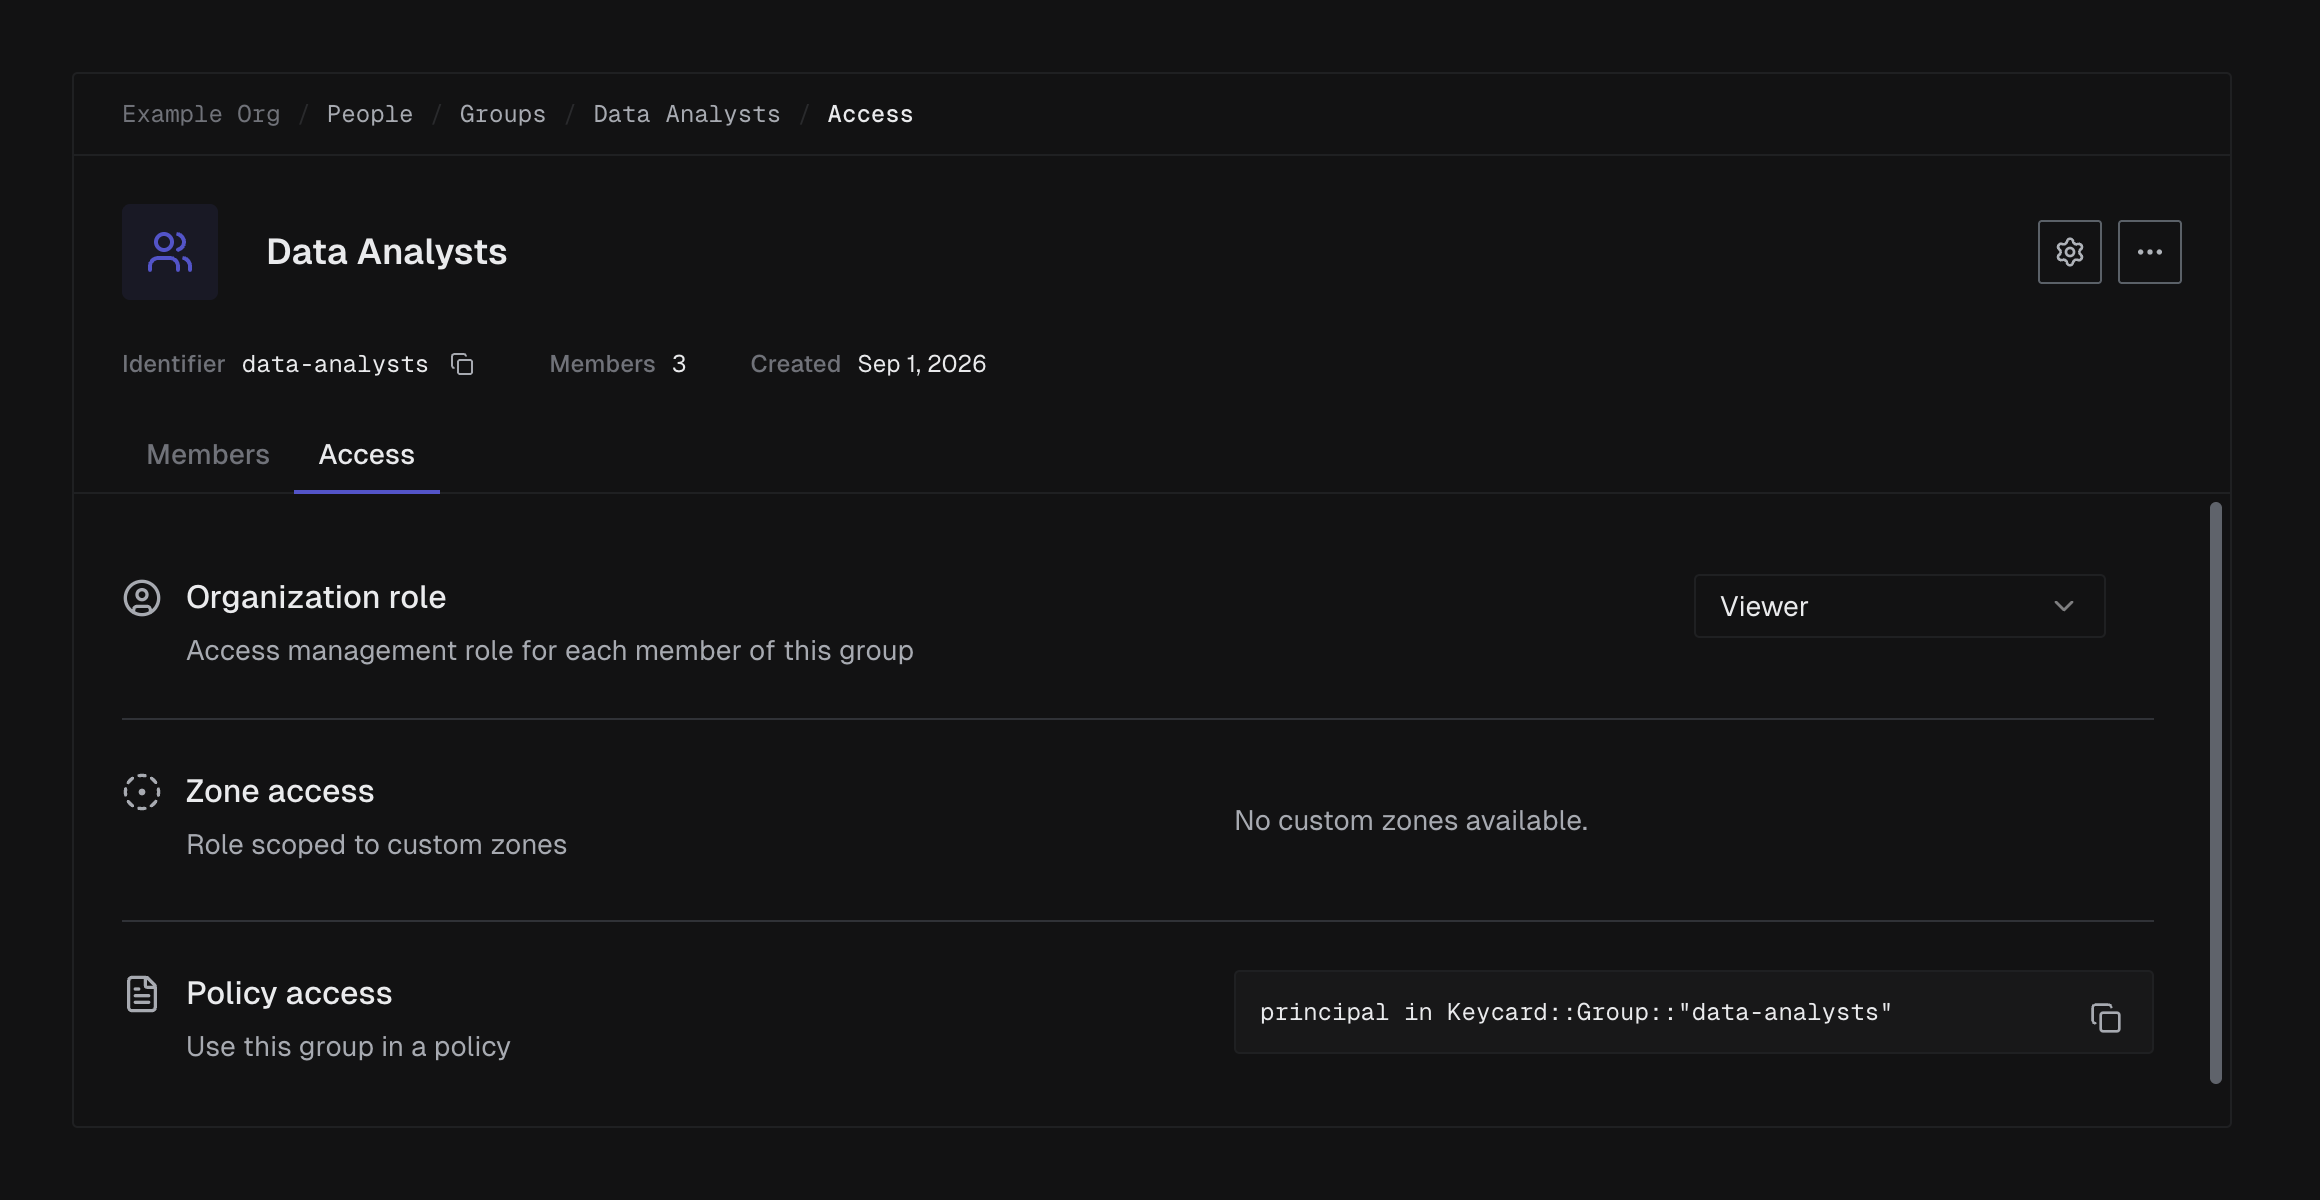
The Policy access section on the same tab gives you the Cedar snippet that matches this Group, ready to paste into a policy.
Synced Groups
Section titled “Synced Groups”A Group provisioned by your identity provider over SCIM shows a Synced badge on the Groups tab and in its header. While directory sync is enabled:
- Name and membership are read-only. Change them in the identity provider.
- The identifier can be edited, and Roles can be assigned as for any Group.
- The Group cannot be deleted in Keycard. Remove it in the identity provider, or turn off directory sync to make it deletable.
Use a Group in a Policy
Section titled “Use a Group in a Policy”Match a Group in Cedar with the in operator, using its identifier:
permit ( principal in Keycard::Group::"data-analysts", action, resource == Keycard::Resource::"<resource-identifier>");Membership is resolved when the request is evaluated, so adding or removing a member changes access without a policy update and without the User signing in again. See Group-based policies.
Delete a Group
Section titled “Delete a Group”Deleting a Group removes its memberships and its Role assignments. Members keep any Role assigned to them directly, and lose the Roles they held only through the Group. Policies referencing the deleted identifier stay valid but stop matching anyone.
- Open the Group’s detail page.
- Click the ⋯ button in the header, choose Delete group, and confirm.