
SSO with Microsoft Entra ID
Sign your team in to Keycard with a Microsoft Entra ID enterprise application
Create an enterprise application in Microsoft Entra ID and link it to your Keycard organization. For what SSO does after setup, see Single Sign-On.
Prerequisites
Section titled “Prerequisites”- The Admin organization Role in Keycard.
- The Cloud Application Administrator role or higher in Entra ID.
- The User Administrator role in Entra ID, if any user is missing an email address.
Configure SSO
Section titled “Configure SSO”-
Copy the Redirect URL
In Keycard Console, open Settings → Connection and copy the Redirect URL.
-
Create the enterprise application
In the Microsoft Entra admin center, go to Enterprise applications → New application → Create your own application. Enter a name, select Integrate any other application you don’t find in the gallery (Non-gallery), and click Create.
-
Add the redirect URI
Go to App registrations and open the application. Under Authentication, click Add Redirect URI → Web and enter the Redirect URL from step 1.
-
Create a client secret
Under Certificates & secrets, create a new client secret and copy its Value, not its Secret ID. From Overview, copy the Application (client) ID and Directory (tenant) ID.
-
Grant admin consent
Under API permissions, select Add a permission → Microsoft Graph → Delegated permissions, select
openid,profile, andemail, and select Add permissions. Then select Grant admin consent for your tenant and confirm. Users can’t consent to an app that requires assignment. -
Link Entra ID to Keycard
In Keycard Console, open Settings → SSO, or use the Keycard Terraform provider. Turn on Enable SSO and fill in:
Field Value Identifier https://login.microsoftonline.com/<tenant-id>/v2.0Client ID The Application (client) ID from step 4 Client Secret The client secret from step 4 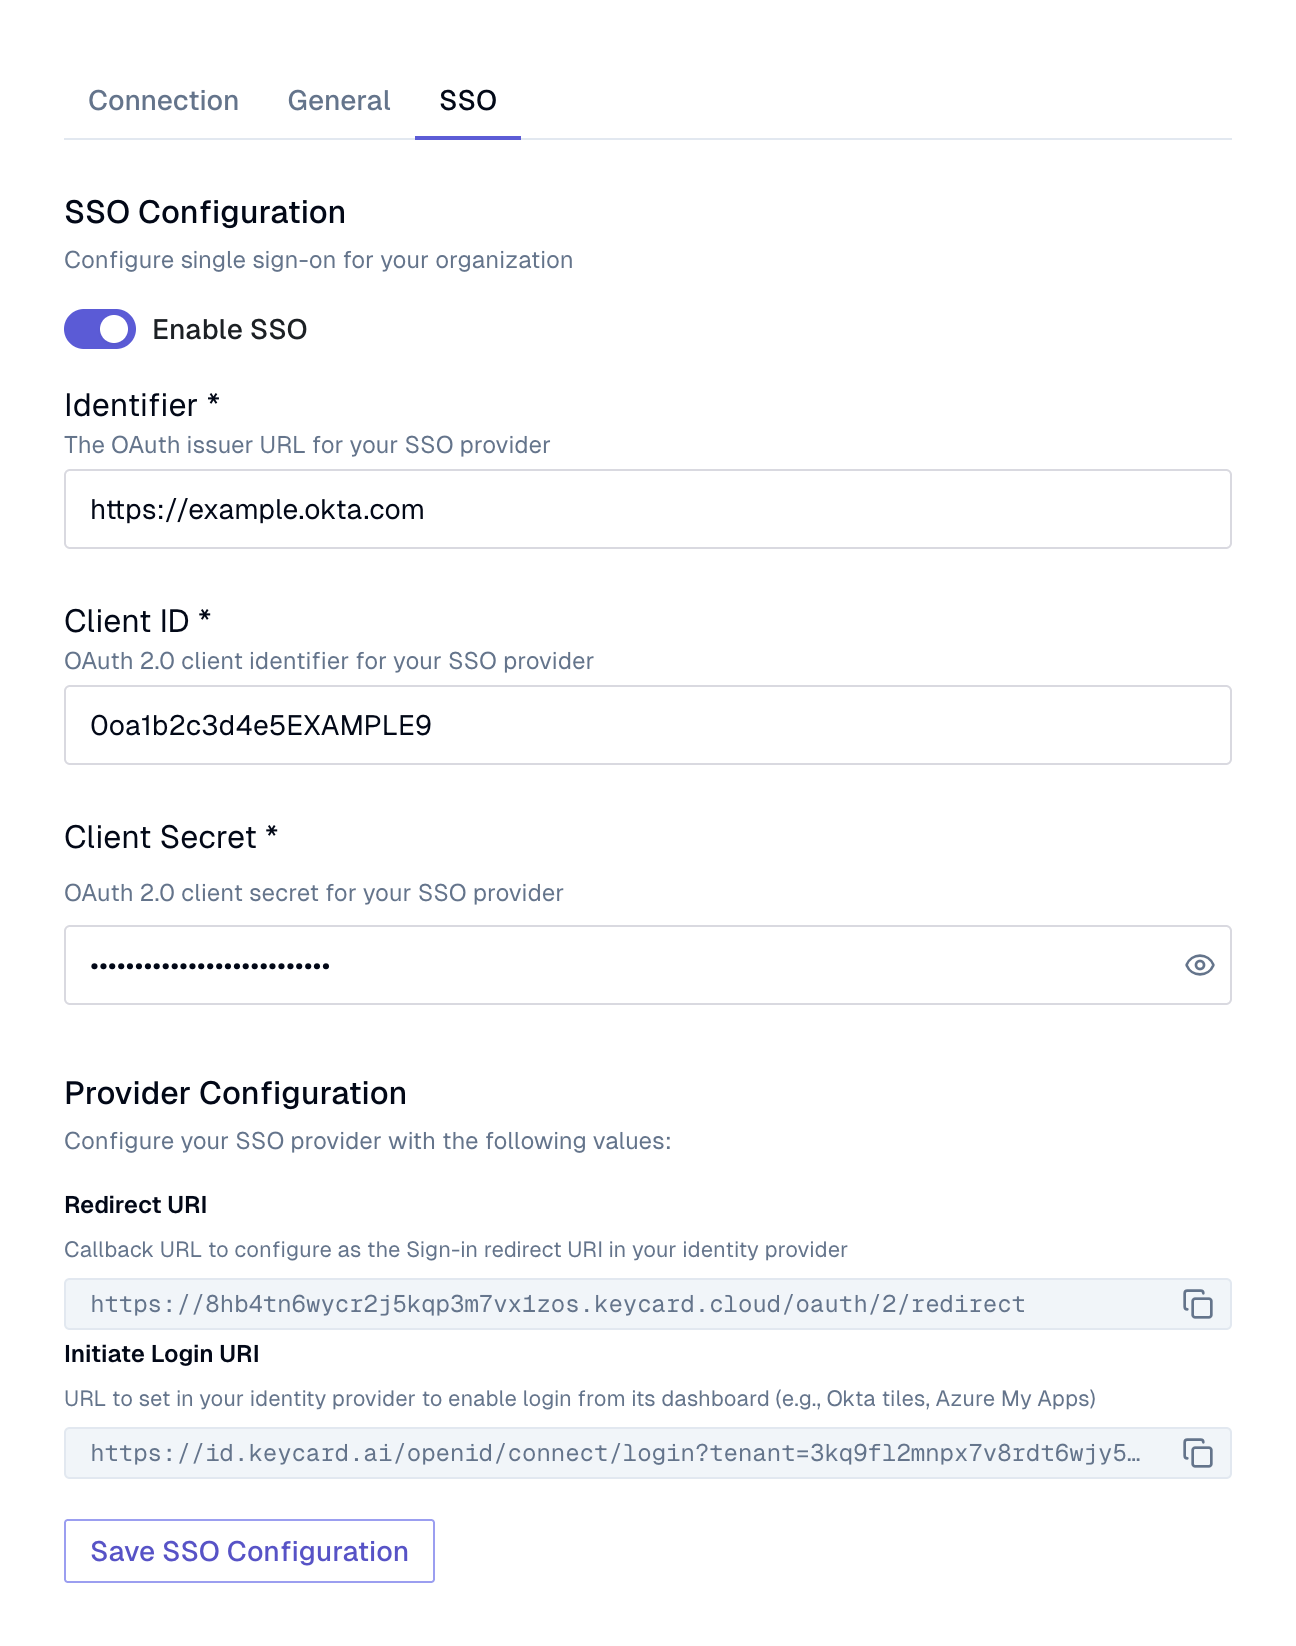
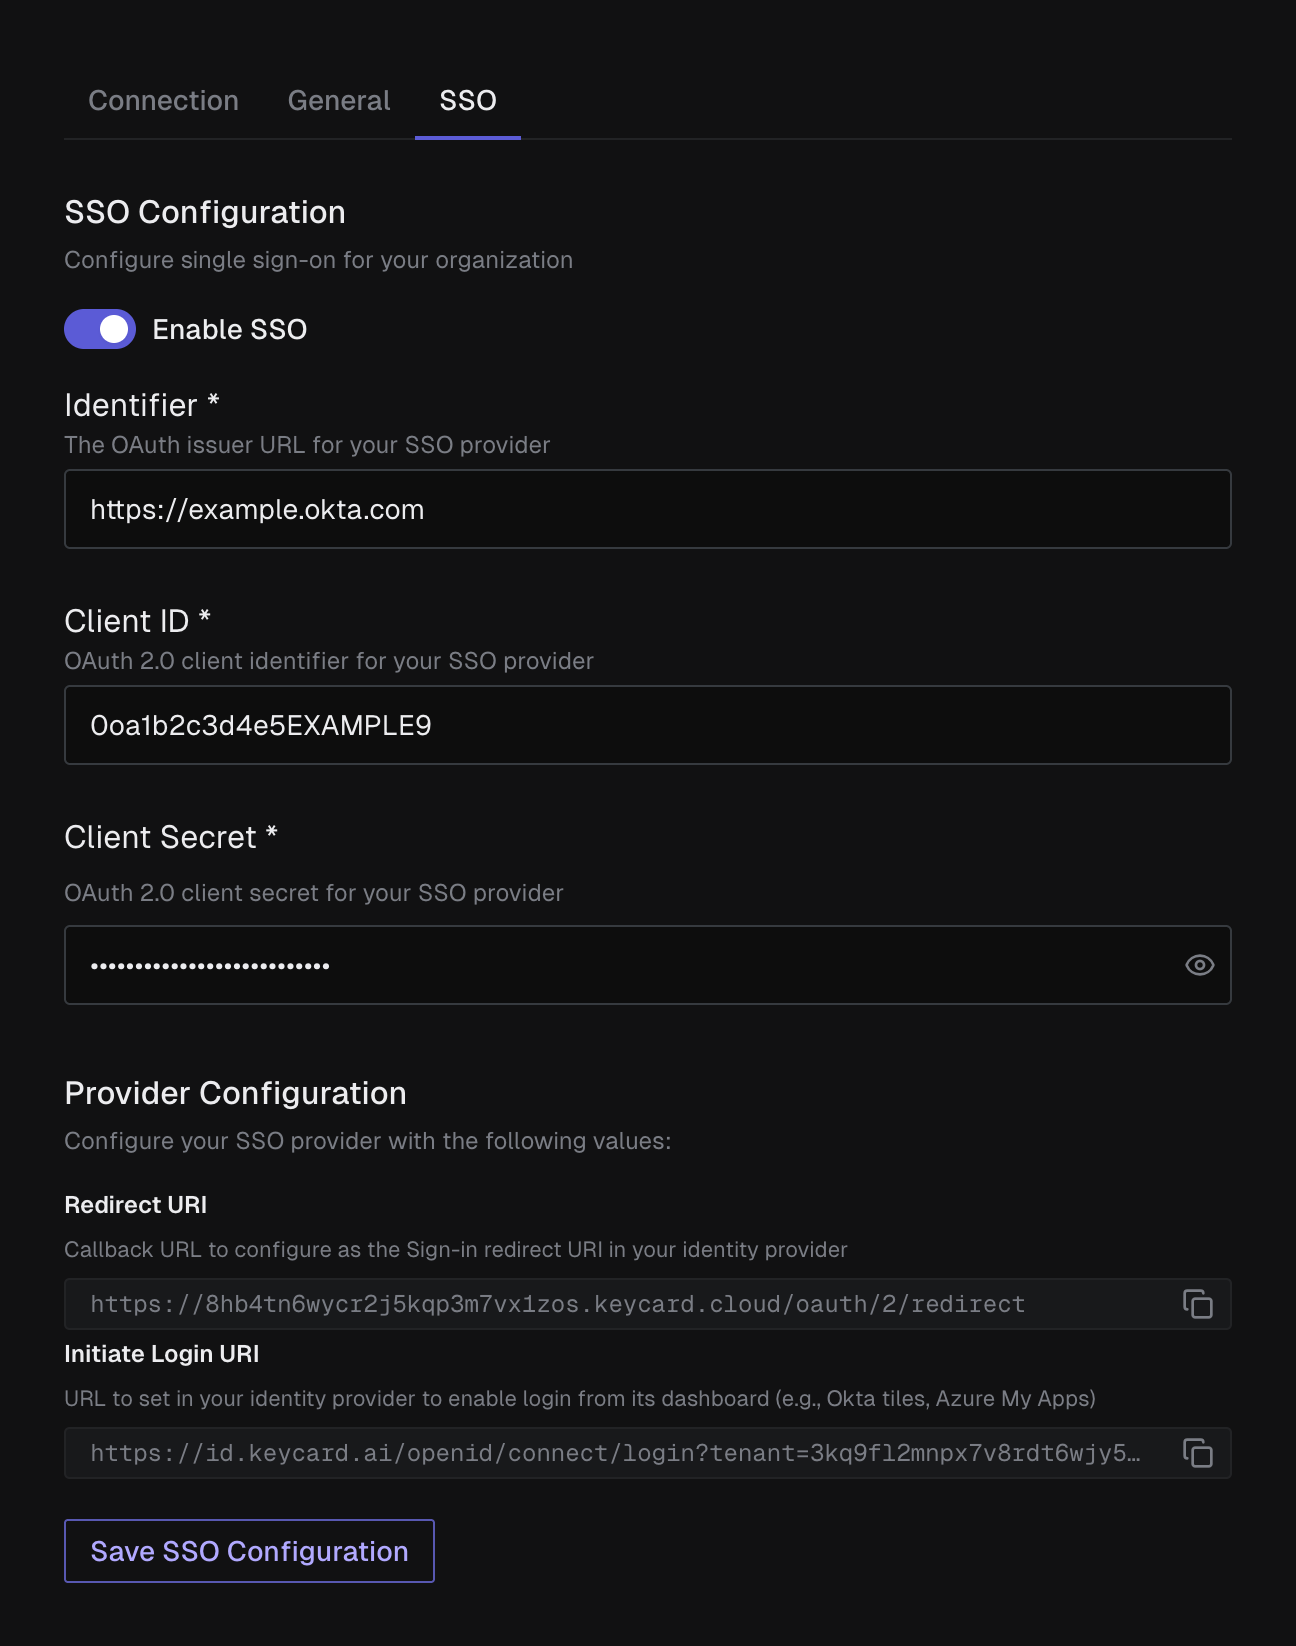
Click Save SSO Configuration.
-
Set the home page URL
In Keycard Console, copy the Initiate Login URI from Settings → SSO under Provider Configuration. In App registrations, open the application, then Branding & properties, and paste it into Home page URL.
-
Assign users and show the tile
In Enterprise applications, open the app. Under Users and groups, assign the users who sign in to Keycard. On Properties, check that Assignment required? is Yes, and that Visible to users? is Yes so the tile appears in My Apps.
-
Check email addresses
Every user who signs in needs an email address in Entra ID. Keycard creates each User from the ID token’s
emailclaim, and Entra ID leaves that claim out for accounts with no email address. A User Administrator can add one: in Users, select the user, select Edit properties, and enter it under Contact info. For users synced from Windows Server Active Directory, set it there.
Verify
Section titled “Verify”Sign in from the Keycard tile in My Apps. In Keycard Console, open People and confirm the User appears. New Users join as Viewer; see User Roles and Access.
To provision Users and Groups before they sign in, see Provision from Microsoft Entra ID.
Troubleshooting
Section titled “Troubleshooting”Entra ID shows AADSTS50011
Section titled “Entra ID shows AADSTS50011”The redirect URI does not match the Keycard Redirect URL. Copy it again from Settings → Connection and check that it was added under the Web platform.
The tile opens an error page
Section titled “The tile opens an error page”The SSO configuration wasn’t saved, or the Home page URL was edited or copied incompletely. Save it in Settings → SSO and copy the Initiate Login URI again.